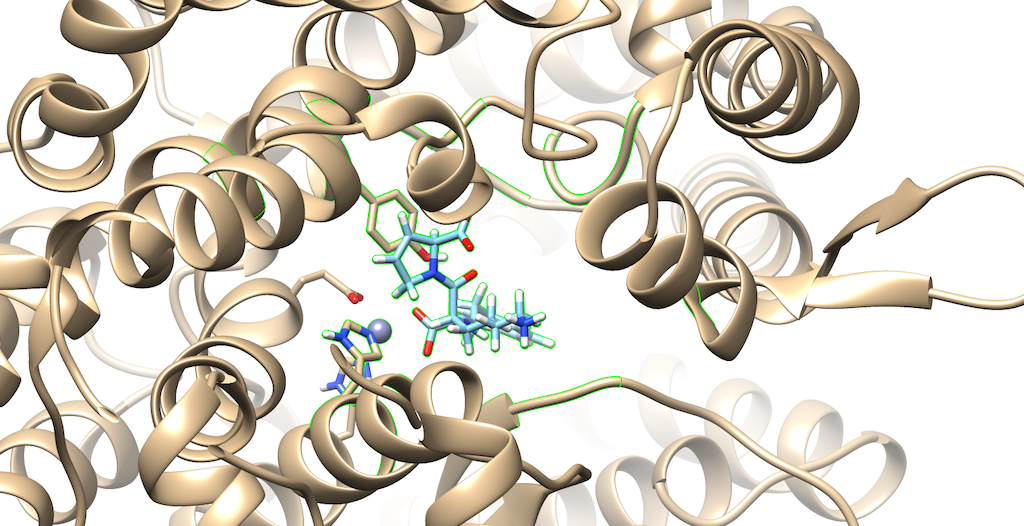
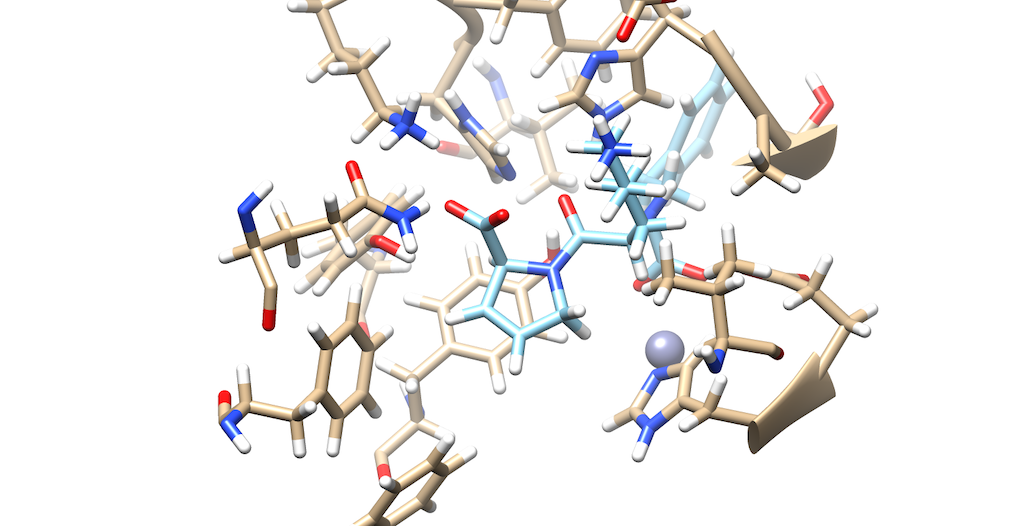
2025 DOCK tutorial 1 with PDBID 1O86
Contents
DOCK Tutorial using PDB 1O86
[intro text]
000: Foundations
Directory setup, copying files to Seawulf, Chimera, basic Unix commands
<code> thisIsACodeBlock("yay") </code> And here we have a fascinating 600x600 image: [[File:2025_test.png]]
001: Structure Prep
Download PDB, separate lig/rec, model loops, addH/charge
Downloading the PDB
Having setup your necessary environment to work on seawulf, lets navigate to your local computer and begin the protein preparation process:
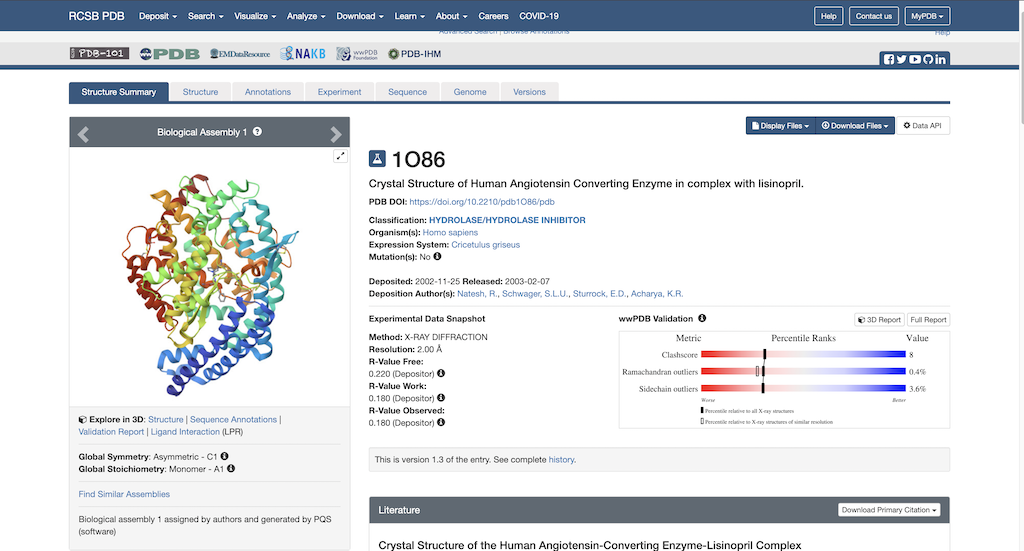
To begin protein preparation you will need the necessary PDB file to work with. Using this link: https://www.rcsb.org/structure/1O86, you will see the RCSB main page opened to our protein of choice:
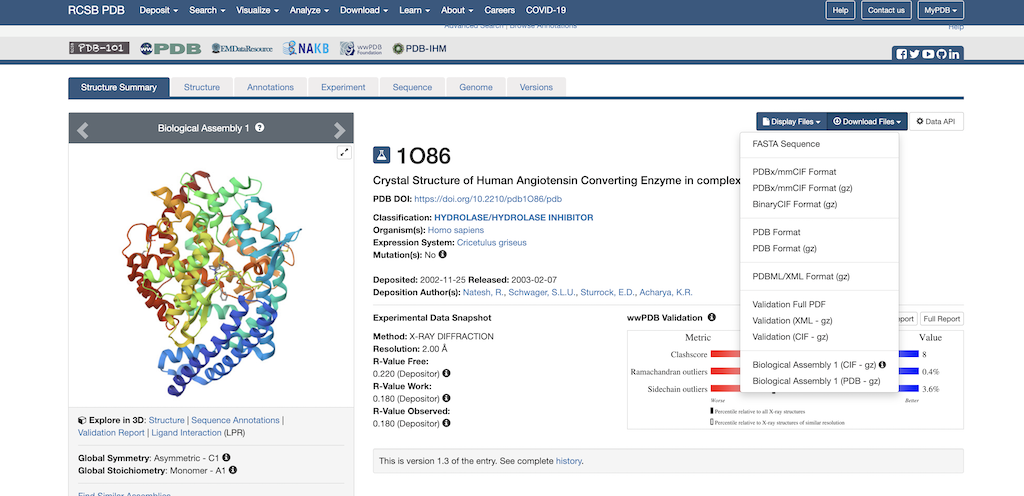
Next, you'll want to navigate to the top right corner where it says Download Files. Then, select the dropdown arrow. The following pulldown menu will appear on the screen:
Select 'Download PDB'. Now the PDB file is downloaded to your local computer.
Now that you have the PDB file, lets navigate to Chimera program to open the file.
002: Spheres
surface generation, sphgen, selecting spheres, visualization in Chimera
Generate the required surface file
1. Open 1O86 protein only file in chimera and hit select > show> surface 2. Write the DMS file by choosing tools>structure editing>Write DMS 3. Upload the DMS file to your directory 4. Create a sphere input file using the following command:
vi INSPH
5. Paste the following into your input file:
./IO86.dms
R
X
0.0
4.0
1.4
IO86.sph
6. Run the program with the following command
sphgen -i INSPH -o OUTSPH
7. Download the output file to your local directory and open and overlay with protein file in Chimera File:Screenshot 2025-02-19 130820.png
Based on the overlay the ribbons are aligned with the spheres indicating the generation of surface spheres was successful.
Generate Spheres localized on binding site
003: Grid/box
showbox, grid generation, visualization in Chimera
004: Minimization
Explanation of .in file for minimization and process (Chimera visuals after)
005: Rigid Docking
Explanation of .in file for rigid docking and process (Chimera visuals after)
006: Flexible Docking
Explanation of .in for flex docking (Chimera visuals after)
007: Footprint Scoring
Explanation of .in for FPS, use of Python script to generate graph
008: 5k Virtual Screen
Slurm and queue etiquette, VS .in explanation and queue submission, ViewDock in Chimera
009: Genetic Algorithm Example
Explanation of rationale for GA and basic functionality, sample input file and expected outputs
010: De Novo Design Example
Explanation of rationale for DN and basic functionality, sample input file and expected outputs
De Novo Design is a dock based algorithm that generates new ligands from scratch. This is done by selecting a dummy atom, which is the 'seed' that 'grows' scaffolds, linkers, or side chains based on user defined parameters. For example, say you only wanted to use de novo design to only 'grow' drug-like molecules. The way this is accomplished is ensuring the input file contains parameters that bias the algorithm to abide by Lipinski's Rule of 5 The guiding principle for using De Novo design is because there is a limit to the amount of new molecules that you could generate using a general virtual screening. Nevertheless, this method will certainly aid in enhancing your search space in generating numerous new compounds.
Selecting a Dummy Atom
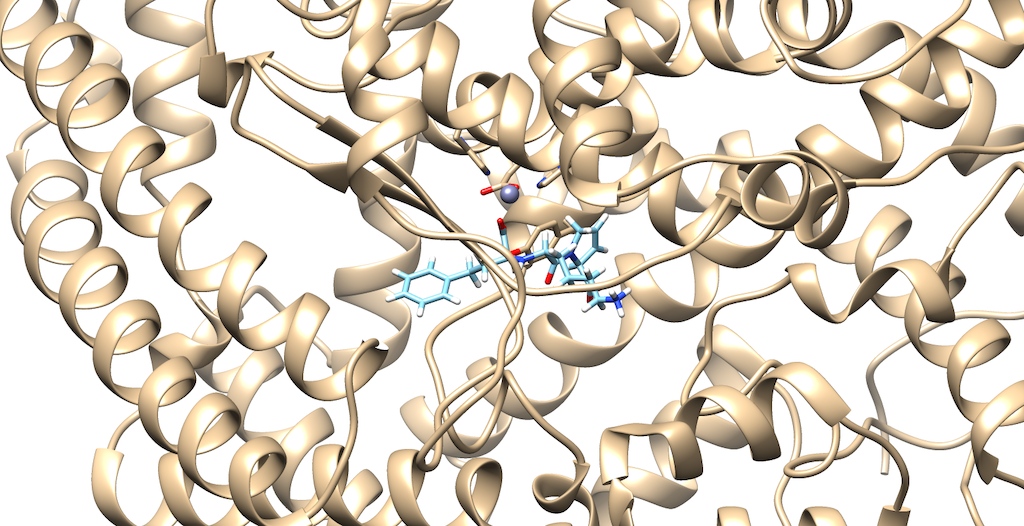
To prepare our molecule for a De Novo calculation, we must first select a dummy atom to 'grow' from. To do this, first open your 1O86_fixed_protein_H_cH.mol2 file, then your 1O86_ligand_H_cH.mol2. The rationale for this is we would like to delete an atom on the ligand that contains a group that interacts with the protein. This will help to produce meaningful results, from a drug design standpoint:
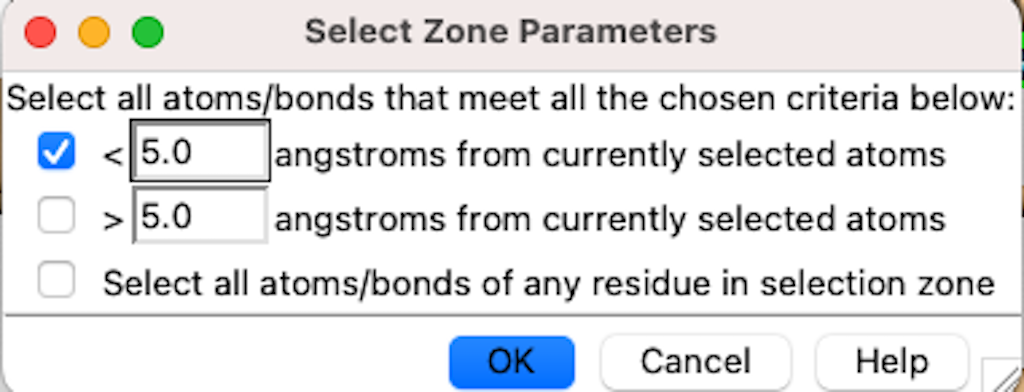
As you can see it is a little difficult to see which atoms are interacting with the protein. To refine this inspection, hit Control and select an atom on the ligand. Then, hit the up arrow to highlight the entire ligand. Next, hit Select --> Zone and the following menu appears:
Lets modify the Zone and change the number from 5.0 angstroms to 3.0 angstroms. Additionally, make sure that that the third box is checked off entitled that selects neighboring residues. Then, press okay. You will notice that your ligand and the neighboring residues are highlighted:
To modify this image even further: Go to Actions --> Atoms/Bonds --> hit Show Next, navigate to Select --> press Invert(selected models), here you'll notice most of the protein is highlighted Lastly, Return to Actions --> Atoms/Bonds --> hit delete You now see that there is a clearer picture of specifically, which atoms are interacting closely with the protein
You'll notice that there are two oxygens interacting with neighboring residues in the protein. Tracing your cursor down the bond, you'll highlight a Carbon atom labeled C5. This will be the atom of choice for this tutorial.
Generating a Dummy Atom
Now that we have our atom of choice, we need to modify the ligand as well as the mol2 file itself.
First, open the 1O86_ligand_H_cH.mol2 in Chimera.
Locate the C5 atom --> select the Carbon, two oxygens, and Hydrogen that are attached to C5 --> Atoms/Bonds --> delete. Then, save the mol2 file, lets call it 1O86_ligand_Du.mol2.
Finally, we must open the mol2 file on our terminal and change the atom type of C5 to Du:
First in the terminal, type the command
vi 1O86_ligand_Du.mol2
Find the C5 atom and modify the atom type. Your input file should look like this:
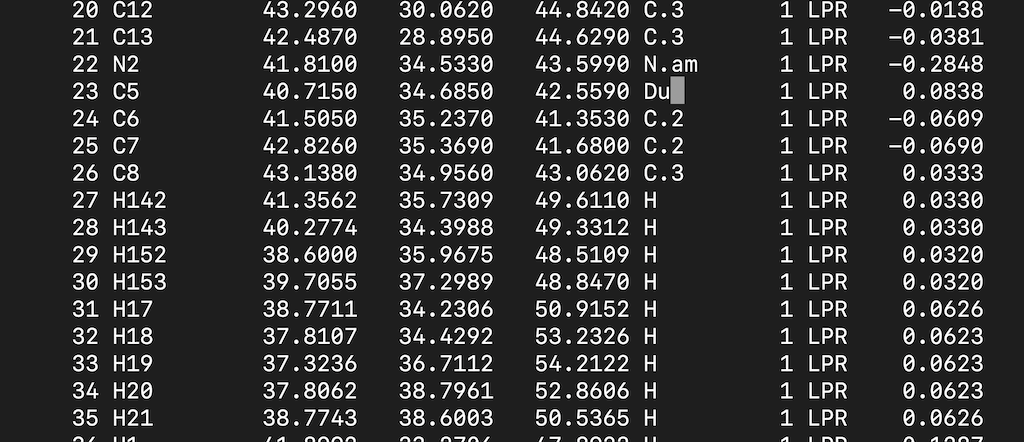 Save it.
Now lets verify this change by opening the mol2 file on Chimera:
As you can see C5 is now a dummy atom as shown in purple
Now, the mol2 is ready for De Novo calcations
As a last step, transfer the mol2 to your working directory on seawulf
scp 1O86_ligand_Du.mol2 username@login.seawulf.stonybrook.edu:'/gpfs/username/010_de_novo'
Running Denovo Calculations
